
Every mouse, keyboard & printer, compared by the numbers.
Independent, data-driven comparisons of gaming mice, keyboards and printers. Real specs, expert ratings and side-by-side breakdowns — so you can buy with confidence.
Fresh in the database
Recently added
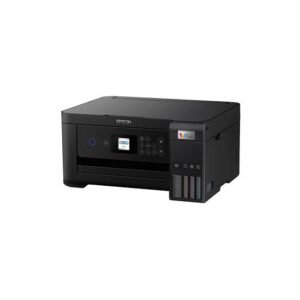 Epson EcoTank L4260 – Specs, Features, Review & Final Verdict
Mouse
Epson EcoTank L4260 – Specs, Features, Review & Final Verdict
Mouse 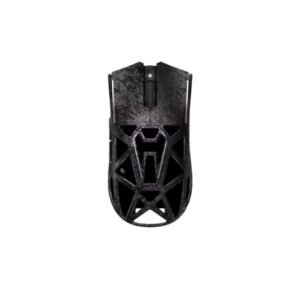 Akko Echo Ultra Mouse – Specs, Features, Review & Final Verdict
Mouse
Akko Echo Ultra Mouse – Specs, Features, Review & Final Verdict
Mouse 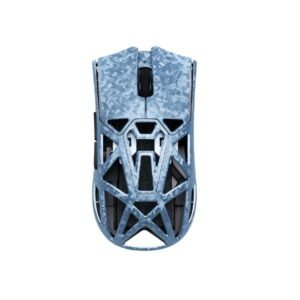 Akko Echo Master Mouse – Specs, Features, Review & Final Verdict
Mouse
Akko Echo Master Mouse – Specs, Features, Review & Final Verdict
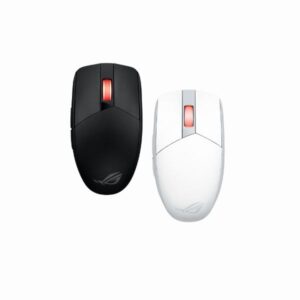
Mouse 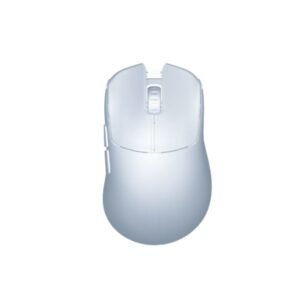 G-Wolves HTX Mini Asym Mouse – Specs, Features, Review & Final Verdict
Keyboard
G-Wolves HTX Mini Asym Mouse – Specs, Features, Review & Final Verdict
Keyboard 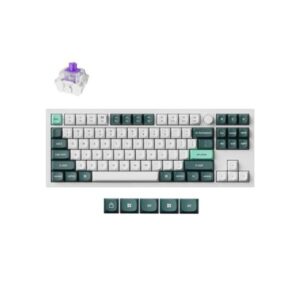 Keychron Q3 HE – Full specification
Keyboard
Keychron Q3 HE – Full specification
Keyboard 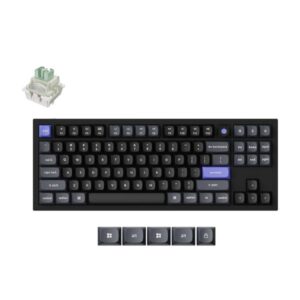 Keychron Q3 HE 8K – Full specification
Keyboard
Keychron Q3 HE 8K – Full specification
Keyboard 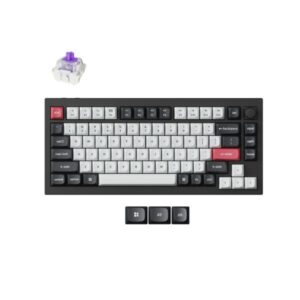 Keychron Q1 HE – Full specification
Mouse
Keychron Q1 HE – Full specification
Mouse  Akko AG325 Mouse – Specs, Features, Review & Final Verdict

Free, in your browser
Test your own gear
Measure and calculate the numbers that matter — no download, no account.
Mouse DPI & eDPI
Calculate your effective DPI and cm/360 for consistent aim across games.
Open tool → ⚡CPS & Click Test
Measure your clicks per second and check your mouse’s real polling rate.
Open tool → ⌨️Keyboard Polling & Ghosting
Test polling rate, key rollover and ghosting on your own keyboard.
Open tool →Why InputArena
Specs you can actually trust
Data first
Every review starts from the full published specification — measured numbers, presented so they are easy to scan and compare.
Fair & consistent
The same criteria are applied to every product, so a rating on one page means the same thing on another. No pay-to-win placements.
Always comparable
Any two or three products can be lined up side by side in seconds, with winning specs highlighted so the best fit is obvious.
Not sure which one to pick?
Line up your shortlist and let the numbers decide. Compare any mice or keyboards side by side, free.
Start comparing →Good to know
Frequently asked questions
How does InputArena compare mice, keyboards and printers?
We collect the full published specification of every product — sensor, DPI, polling rate, weight, switch type, battery life, print speed, ink cost and more — then let you place any two or three side by side. Winning values are highlighted on each row, and our editors add a rating out of 10 so you can judge quality at a glance.
Are the ratings and comparisons unbiased?
Yes. Our ratings are based on the listed specifications and editorial judgement, not on sponsorships. We clearly separate measured specs from opinion, and comparisons are generated from the same data for every product.
What free tools does InputArena offer?
You can test and calculate your mouse DPI and eDPI, cm/360, click speed (CPS), and both mouse and keyboard polling rates — plus keyboard ghosting and rollover checks. Everything runs in your browser, free and without an account.
Which specs matter most for gaming?
For mice: weight, sensor and max DPI, and polling rate. For keyboards: switch type, actuation, polling rate and layout. Our comparison tables surface exactly these so you can weigh the trade-offs for your grip, game and budget.
Do you cover printers too?
Yes. Alongside mice and keyboards, we publish full specifications for printers — print speed, resolution, ink or toner running cost, paper handling and connectivity — with the same side-by-side comparison and rating format.